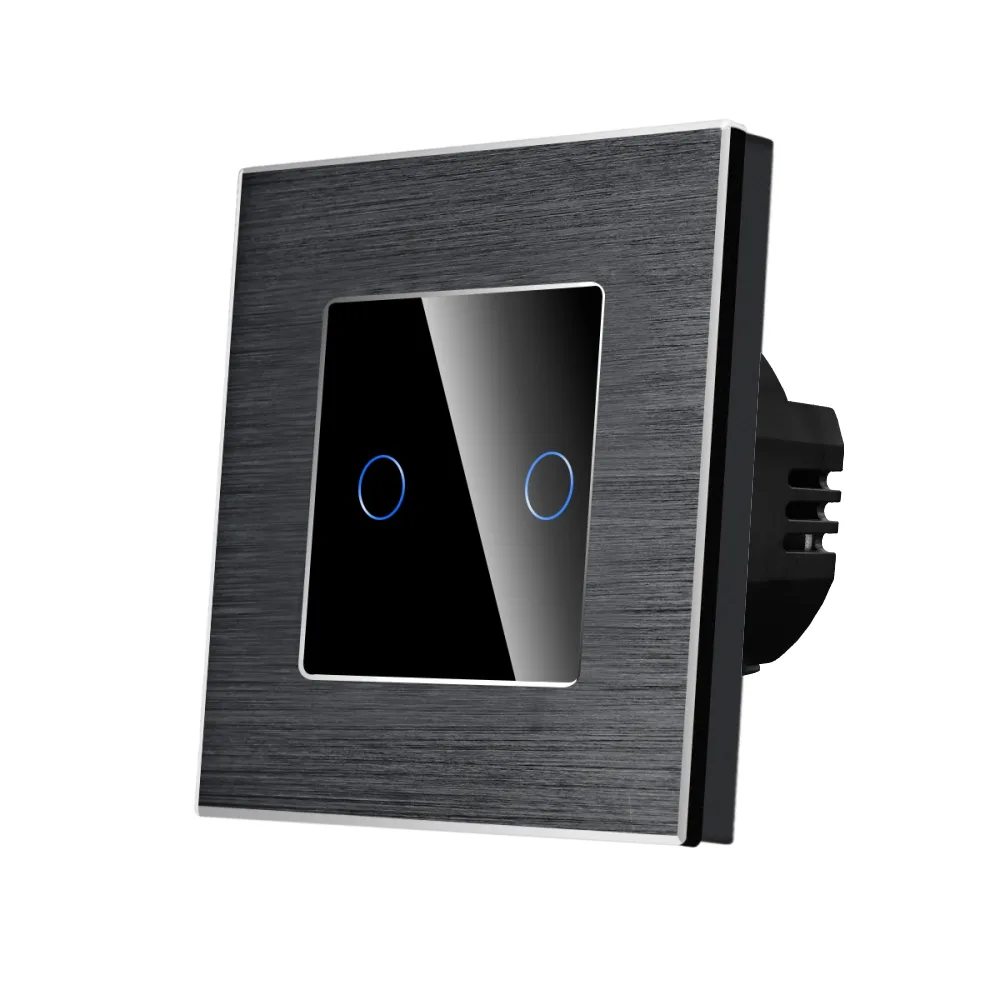
LUXION double glass touch switch with aluminium frame, 500W
LUXION double touch switch with a glass panel and aluminium frame, up to 500W per channel and a precise touch sensor like those in smartphones.
Code: LX-ST-201A-B · Colour: Black
Datasheet (PDF)| Colour | Code | EAN |
|---|---|---|
| Black | LX-ST-201A-B | – |
| Gold | LX-ST-201A-G | – |
| Grey | LX-ST-201A-GY | – |
| White | LX-ST-201A-W | – |
Description
LUXION switches stand out for their compact, elegant and minimalist design. They are versatile in use, and the touch sensor is extremely precise, the same as that of a smartphone.
The double touch switch combines a safety glass panel with an aluminium frame for a clean, modern look. Its construction is durable and the switches do not discolour over time.
- Fits into a standard electrical installation, with no neutral wire required at the switch.
- Blue LED indicator when the light is on and a faint blue when it is off.
- Up to 300W per channel for LED lamps and 500W per channel for resistive loads.
A practical product, made from quality materials and built to last, offering functionality and comfort in your home.
Compact, elegant and minimalist design
Enjoy the versatility of the new Luxion switches. The double touch switch combines a glass panel with an aluminium frame for a clean, modern look.
Touch sensor
The touch sensor is extremely precise, the same as the sensor of a smartphone.
Moisture resistant
Can be used in humid areas.
Does not discolour
The elegant design remains unchanged over time.
Technical parameters
- Maximum voltage: 250V AC
- Voltage tolerance: -15% ~ +10%
- Operating frequency: 50/60Hz
- Load: 3–300W max. for LED lamps, 500W for resistive loads
- Power consumption: 0.02W
- Operating temperature: -20°C ~ +70°C
Structure / components
- Elegant glass panel with aluminium frame
- Switch mechanism
- Metal mounting frame
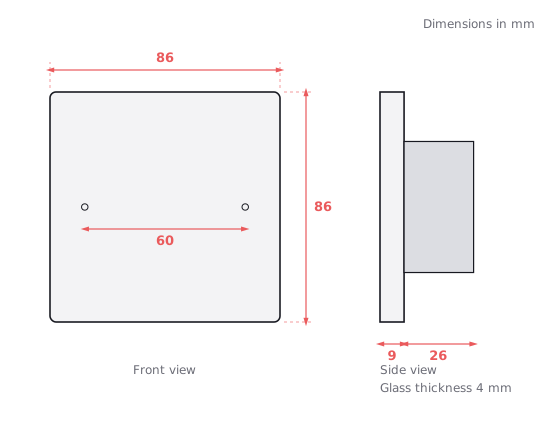
- Screw fixing system, 60 mm fixing distance
Dimensions
- Width: 86 mm
- Height: 86 mm
- Panel thickness: 9 mm
- Mechanism depth: 26 mm
- Mechanism height: 49 mm
Wiring diagram
Connect the live (L) to terminal L and the two lighting circuits to L1 and L2; the lamps are connected to the neutral (N). Switch off the power supply before installation and removal.
- L: Live
- L1: Lighting circuit 1
- L2: Lighting circuit 2
- N: Neutral (to the lamps)
Installation steps
- 1. Open the package.
- 2. Connect the wires and tighten the screws.
- 3. Use the 2 screws to fix the frame.
- 4. Fit the front panel.
Dimension drawing
Related products
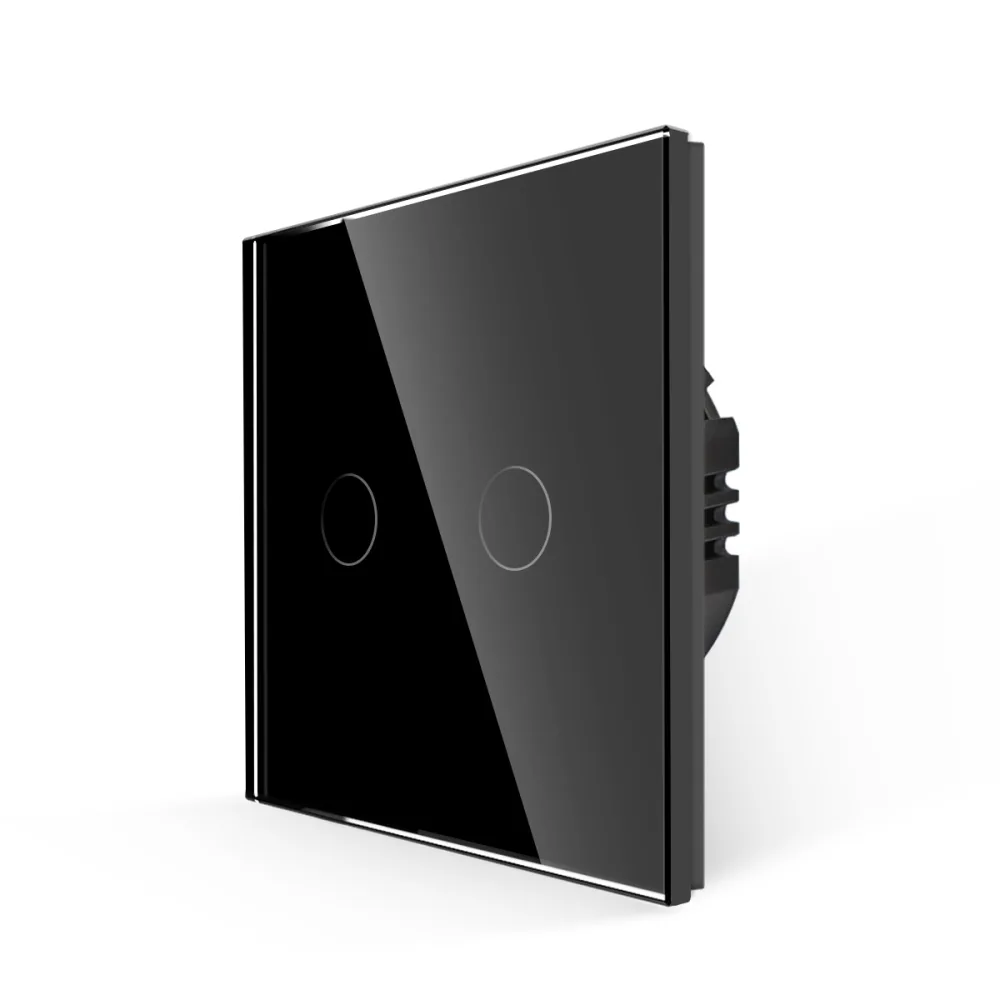 LUXION double touch switch with glass frame, 500W
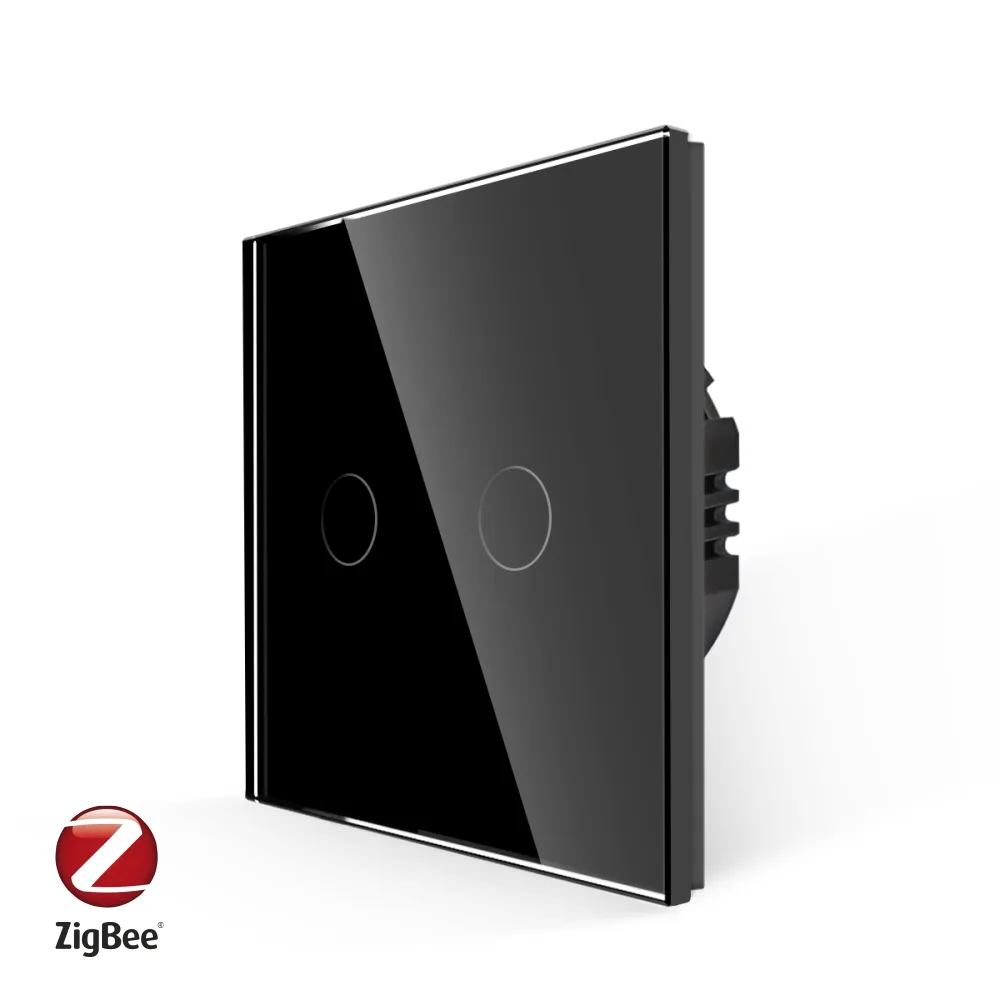 LUXION Zigbee double touch switch with glass frame
 LUXION Wi-Fi double touch switch with glass frame
 LUXION double touch switch with glass frame
 LUXION double two-way / intermediate touch switch with glass frame, Series A
 LUXION double Wi-Fi + RF433 touch switch with glass frame
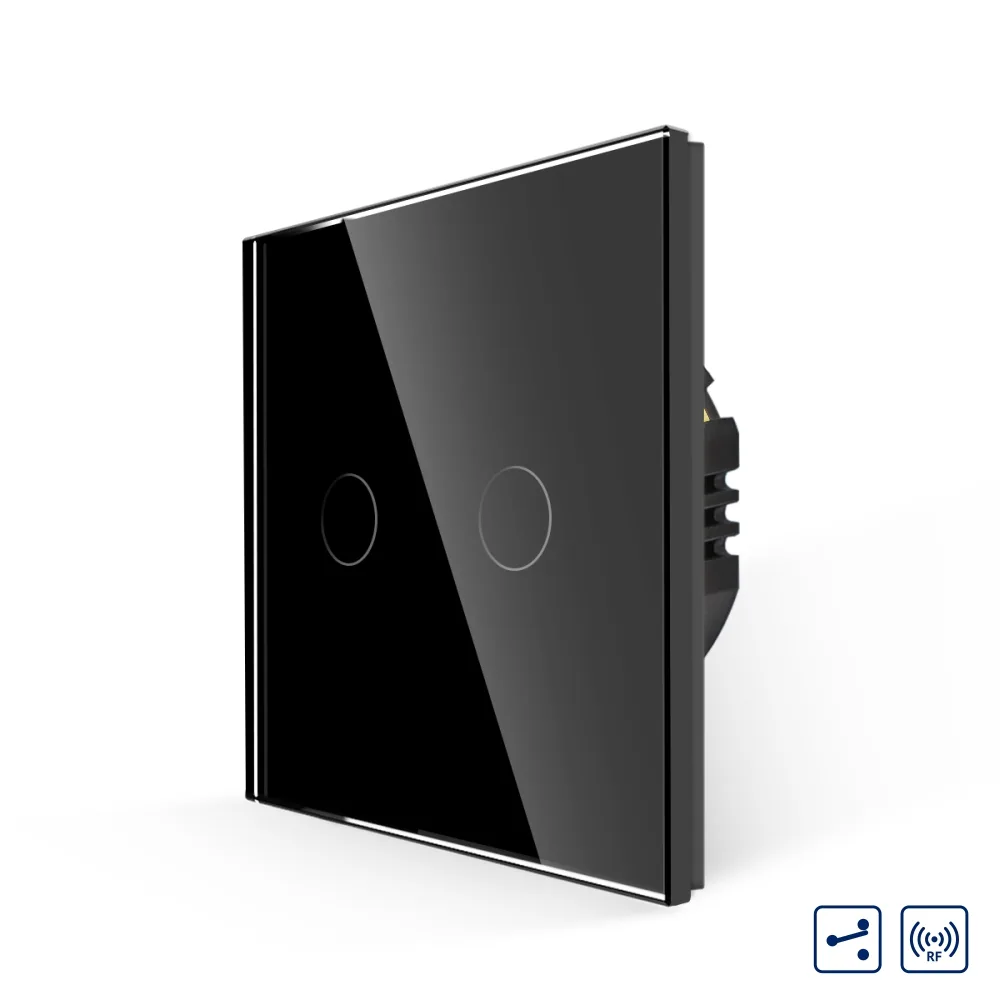 LUXION double two-way / intermediate touch switch with glass frame, RF433
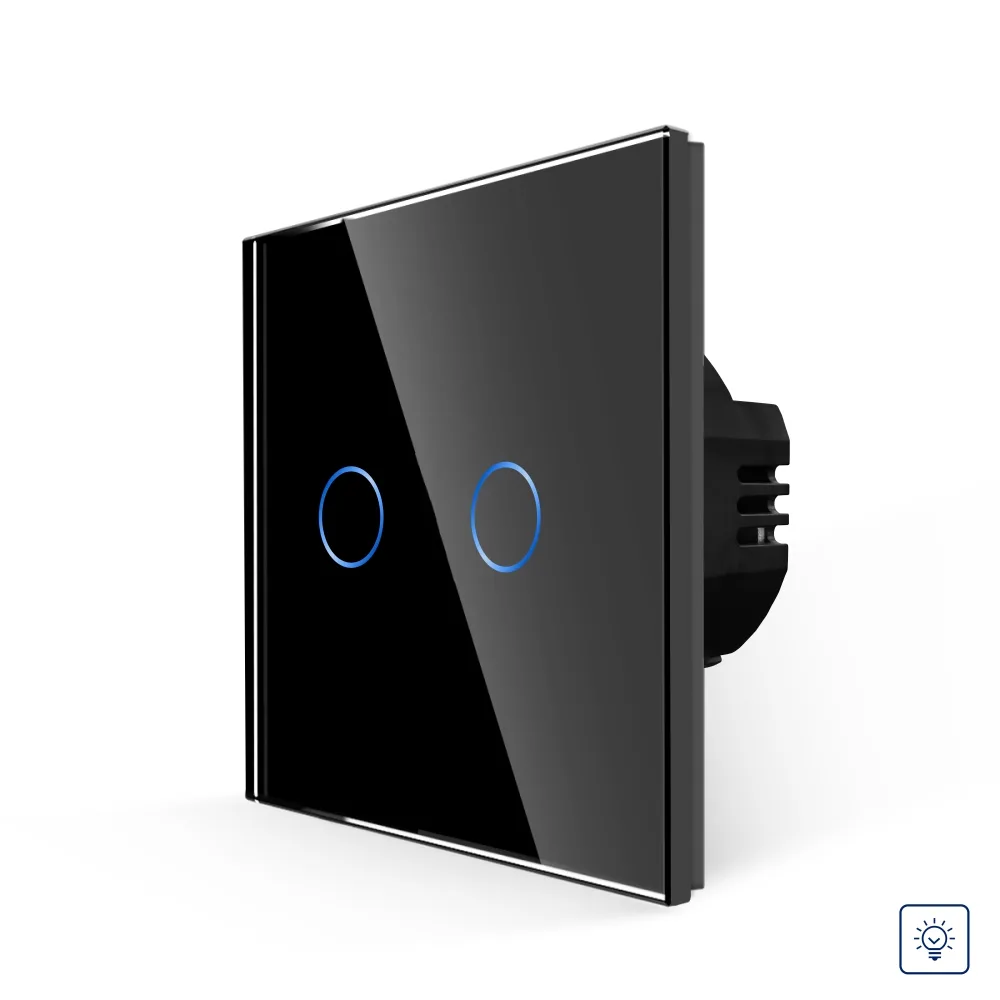 LUXION double dimmer touch switch with glass frame