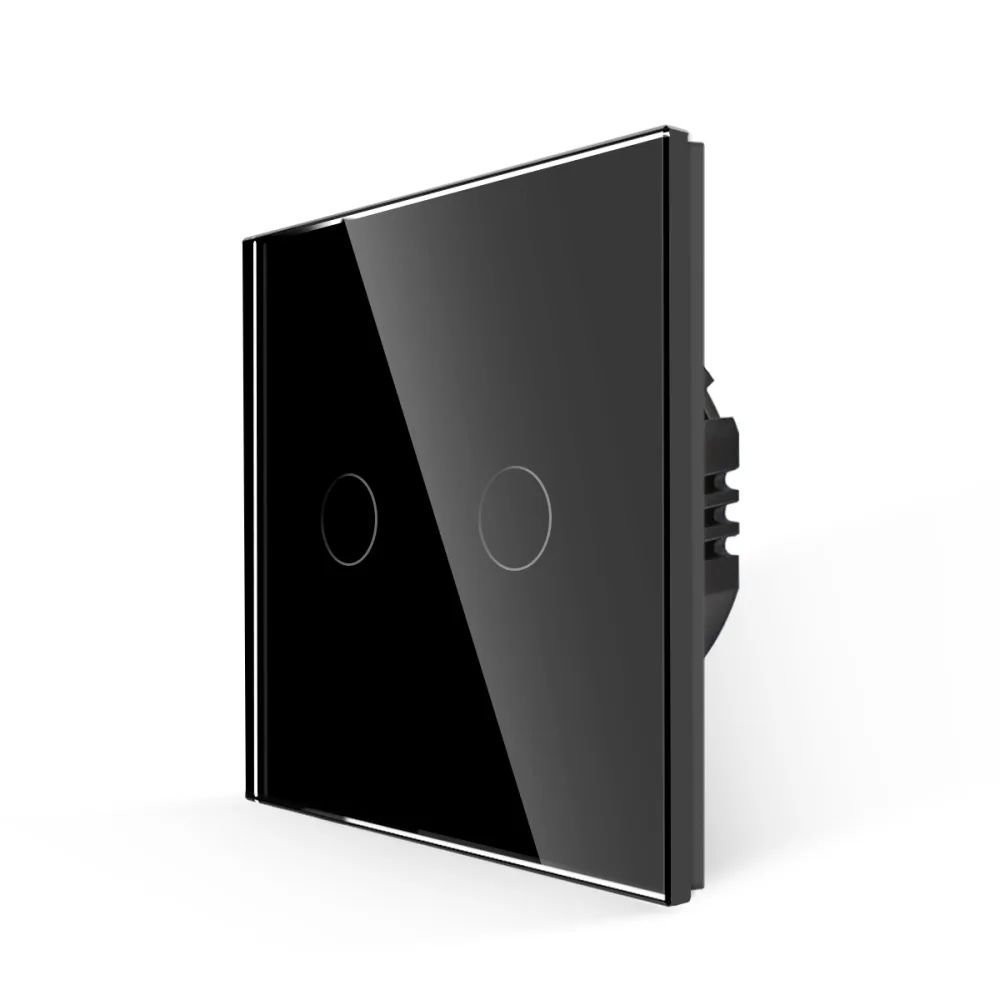
LUXION double touch switch with glass frame
LUXION double touch switch with a 4 mm safety glass panel, 1000W per channel and blue LED indicator.
Code: LX-MT-201G-B · Colour: Black
Datasheet (PDF)| Colour | Code | EAN |
|---|---|---|
| Black | LX-MT-201G-B | – |
| Gold | LX-MT-201G-G | – |
| Grey | LX-MT-201G-GY | – |
| White | LX-MT-201G-W | – |
Description
LUXION switches stand out for their compact, elegant and minimalist design. They are versatile in use, and their touch sensor is extremely precise, the same as that of a smartphone.
The double touch switch features a durable construction and does not discolour over time, so its elegant appearance stays unchanged. It is a practical product, made from quality materials and built to last, offering functionality and comfort in your home.
- Heat-resistant safety glass panel, 4 mm thick
- Two independent channels, up to 1000W each
- Blue LED indicator: bright when the light is on, dim when it is off, for easy location in the dark
Features
Compact, elegant and minimalist design for the LUXION double touch switch.
- Extremely precise touch sensor, the same as a smartphone's sensor
- Does not discolour – the elegant appearance stays unchanged
- Durable construction from quality materials
Technical parameters
Capacitive touch switch.
- Rated operating voltage: 110V ~ 240V AC
- Voltage tolerance: -15% ~ +10%
- Load: 1000W per channel, 2000W in total
- Operating frequency: 50/60Hz
- Power consumption: 0.02W
- Service life: 100,000 operations
- Operating temperature: -20°C ~ +70°C
Structure / components
The switch consists of three main parts.
- Elegant glass panel
- Switch mechanism
- Metal mounting frame
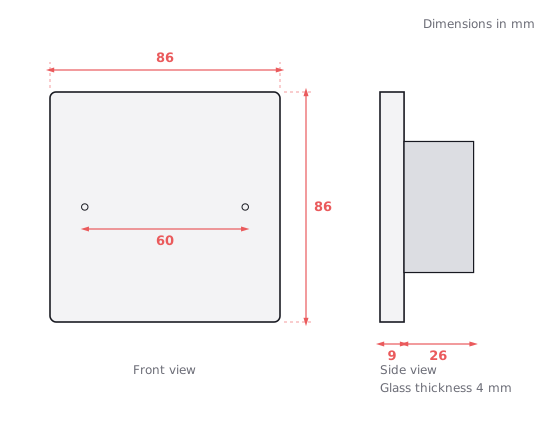
- Screw fixing at 60 mm spacing
- Terminals on the back: L2, L1, L
Dimensions
- Width: 86 mm
- Height: 86 mm
- Panel thickness: 9 mm
- Mechanism depth: 26 mm
- Mechanism height: 49 mm
Installation / wiring diagram
The wiring diagram includes live (L), neutral (N) and the L1 and L2 outputs to the loads. Switch off the power supply during installation and removal.
- 1. Open the package.
- 2. Connect the wires and tighten the screws.
- 3. Use the 2 screws to fix the frame.
- 4. Fit the front panel.
Dimension drawing
Related products
 LUXION double touch switch with glass frame, 500W
 LUXION Zigbee double touch switch with glass frame
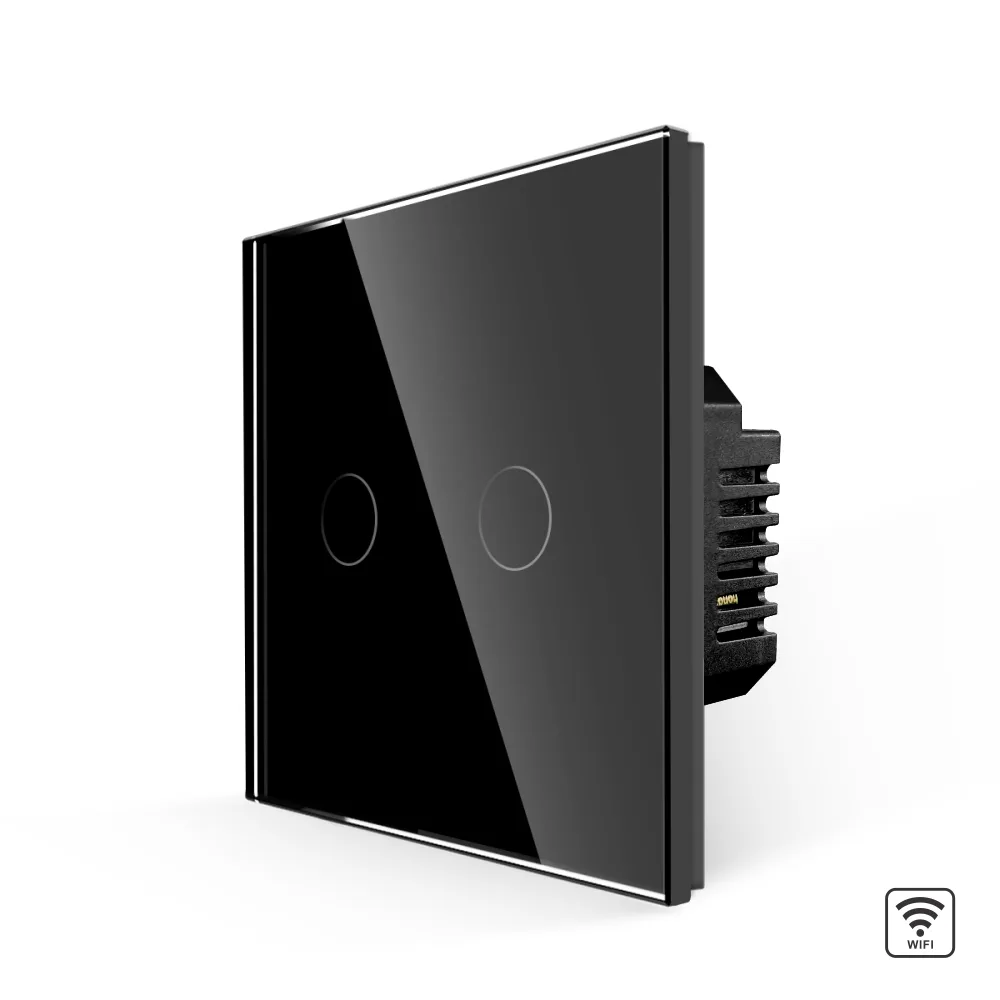 LUXION Wi-Fi double touch switch with glass frame
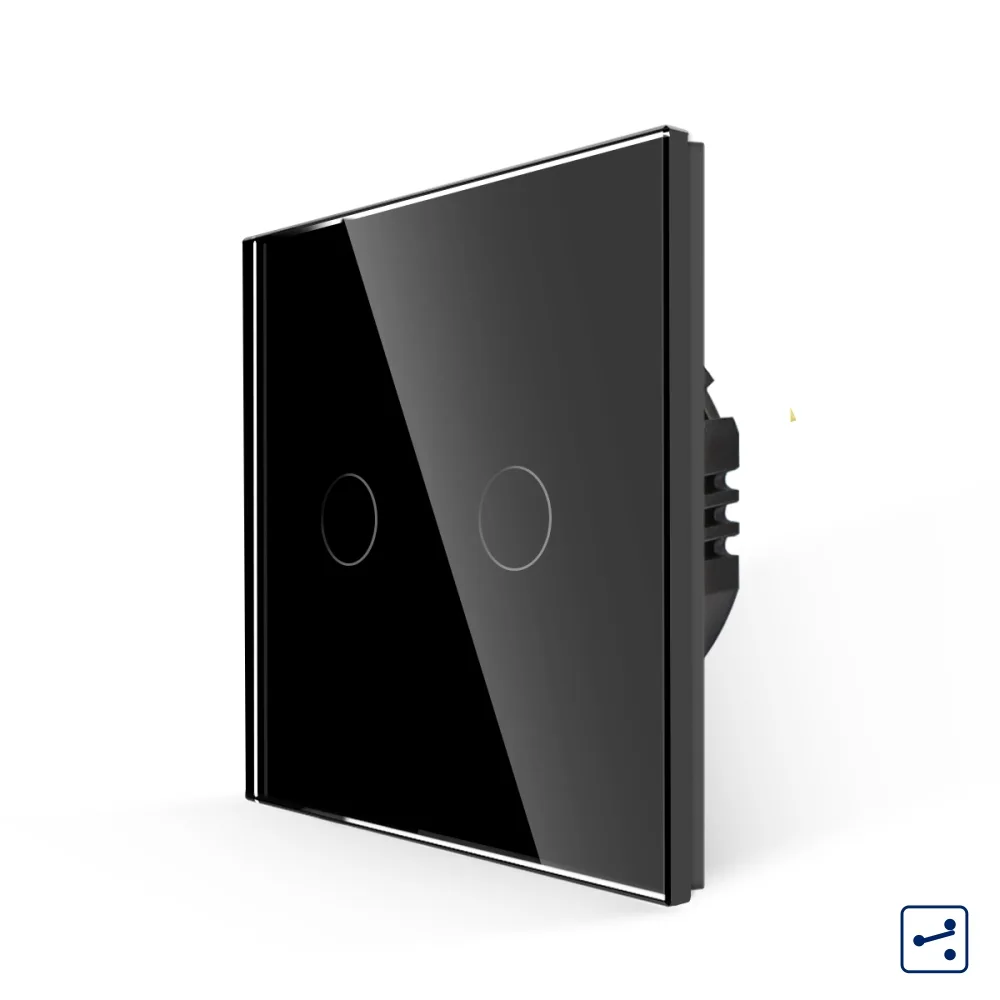 LUXION double two-way / intermediate touch switch with glass frame, Series A
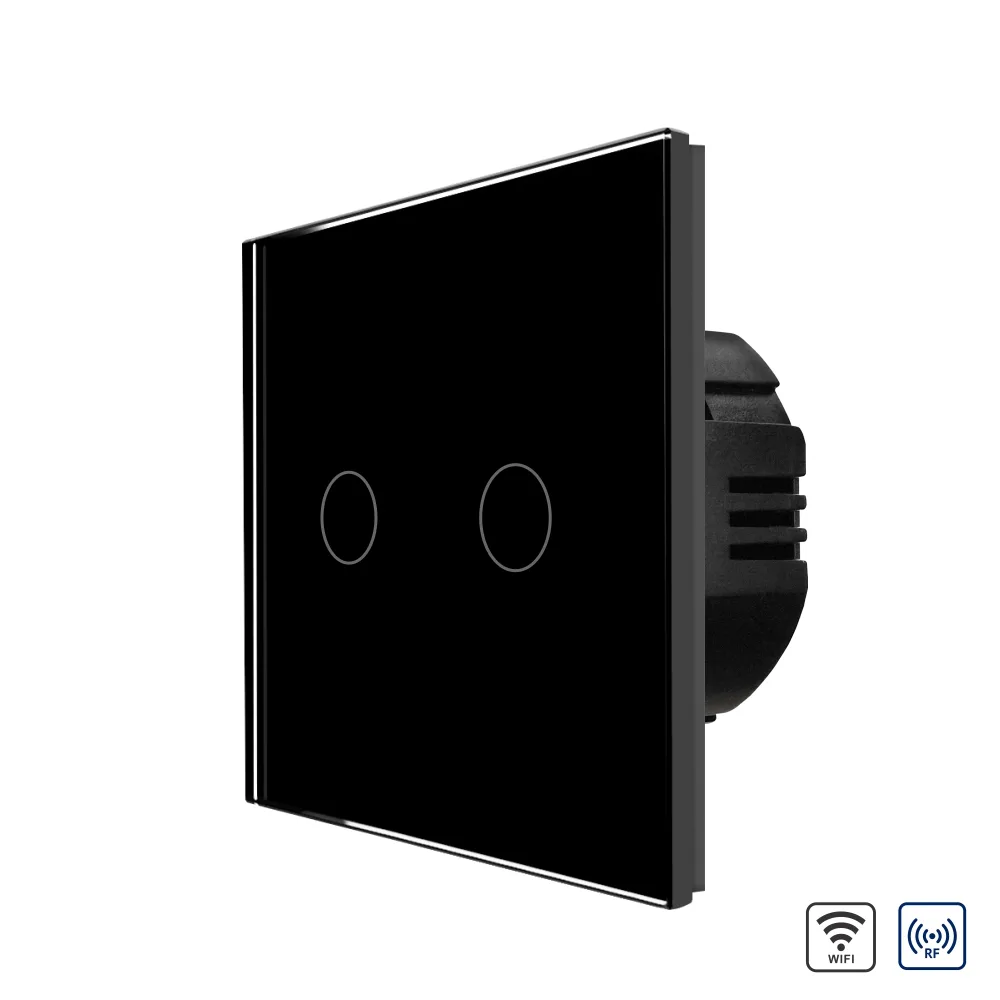 LUXION double Wi-Fi + RF433 touch switch with glass frame
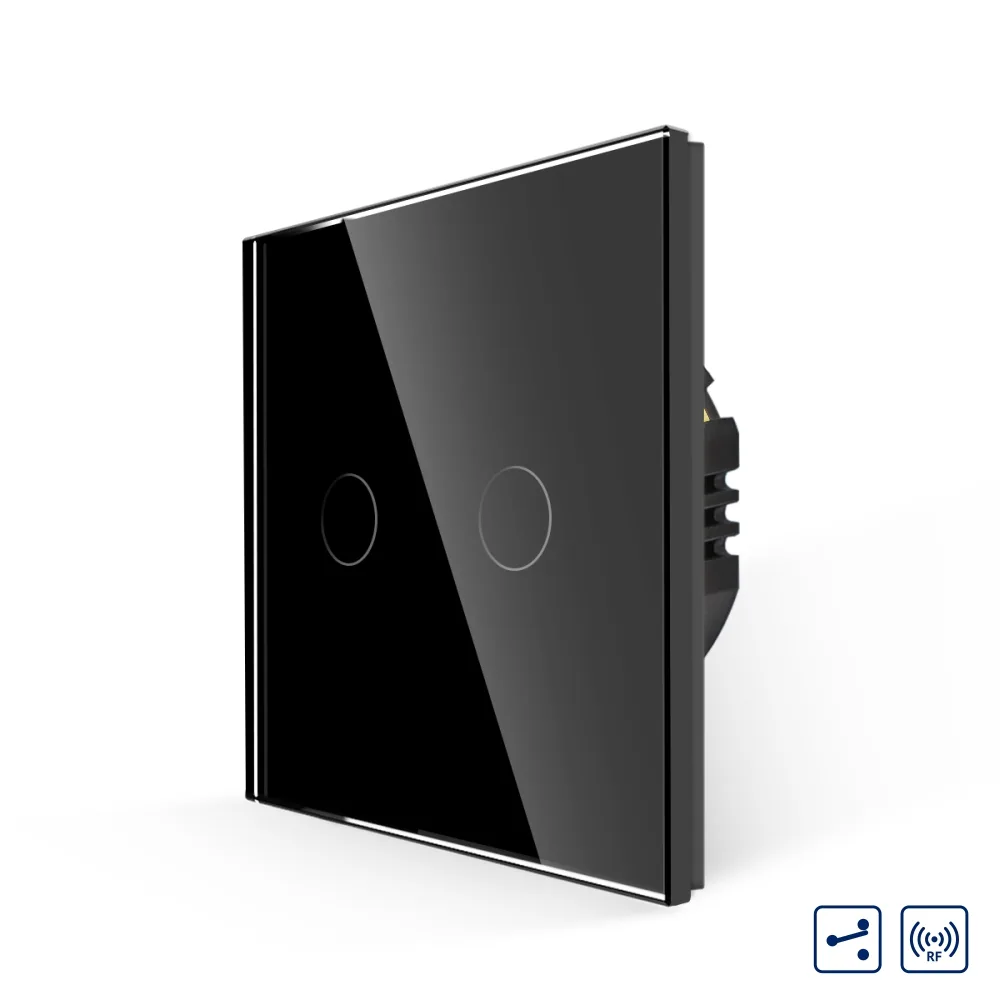 LUXION double two-way / intermediate touch switch with glass frame, RF433
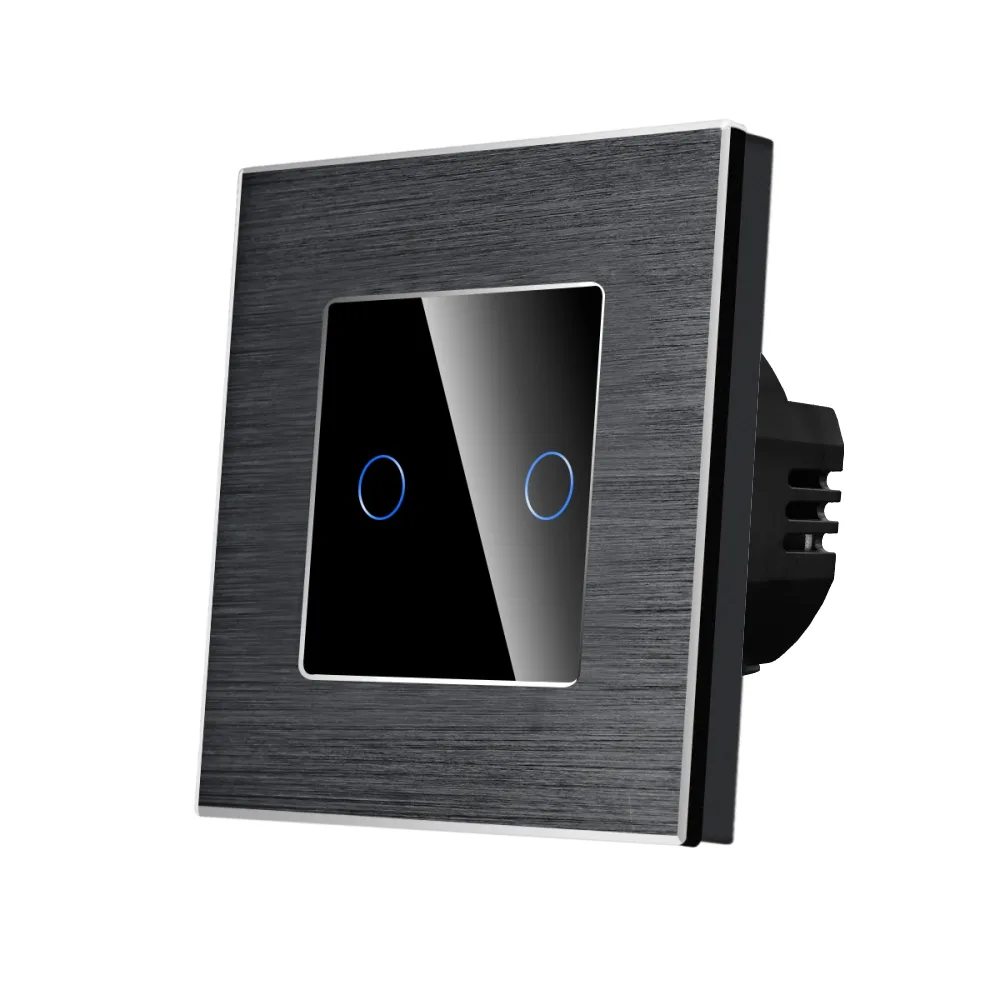 LUXION double glass touch switch with aluminium frame, 500W
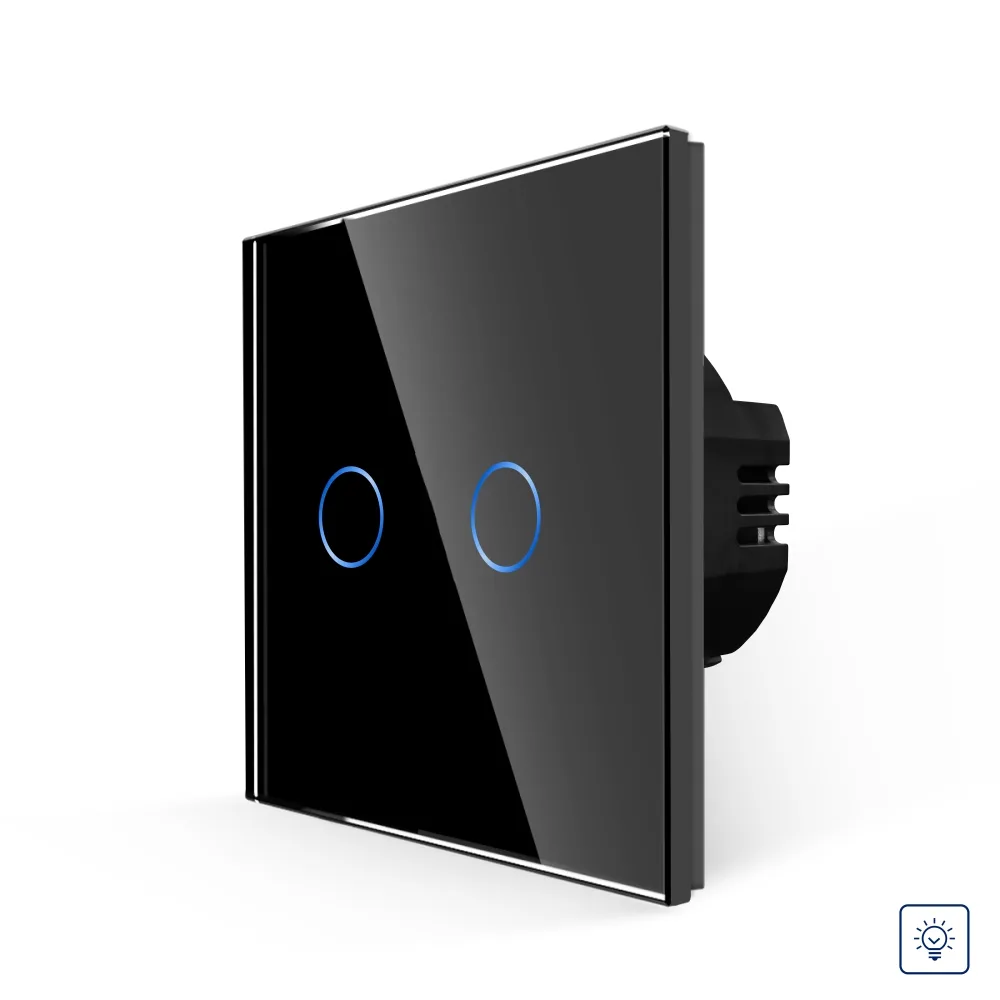 LUXION double dimmer touch switch with glass frame